


How to Properly Install Photovoltaic Cables for photovoltaic Systems?
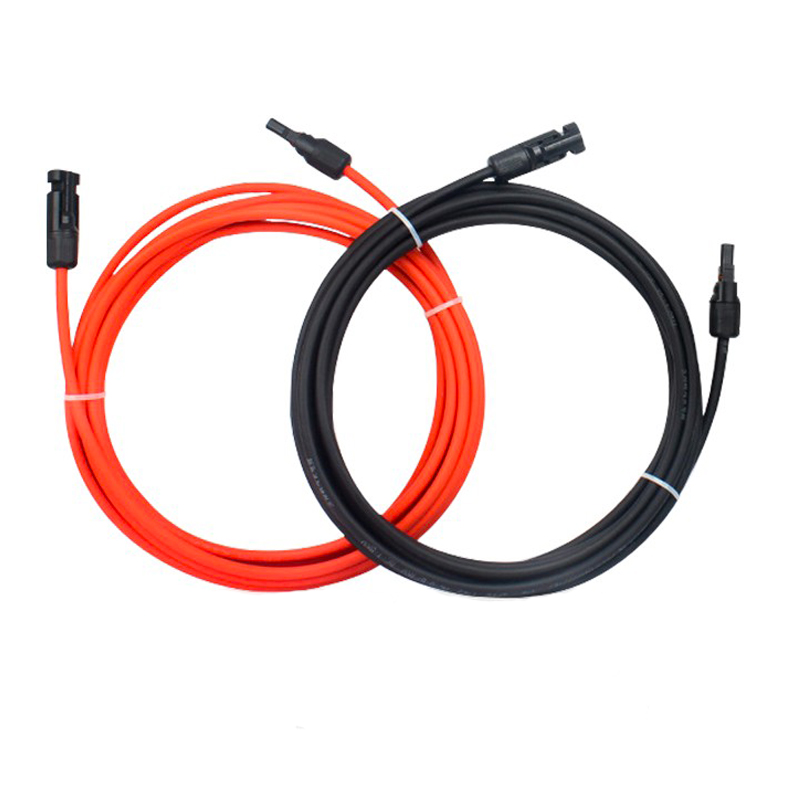
In photovoltaic power generation systems, Pv Cables play a key role, connecting photovoltaic panels and ensuring the effective transmission of electricity. The proper laying method is directly related to the operating efficiency and safety of the entire system. Taking 4 square millimeter photovoltaic special cables as an example, this commonly used specification of wire often needs to be used with a special photovoltaic connector to form a stable and waterproof circuit connection.
Why Use photovoltaic Connectors?
photovoltaic connectors are an important part of outdoor photovoltaic systems, with waterproof and dustproof properties and stable conductivity. Currently, photovoltaic panels on the market generally come with connectors, but when the line needs to be extended or special wiring is required, the connectors still need to be installed manually. This type of connector is economical and practical, and can be adapted to 4mm and 6mm photovoltaic cables.
During the construction of rooftop photovoltaic systems, power transmission often faces wiring difficulties. Compared with using fixed-length finished photovoltaic cables, cutting wires according to actual needs and assembling them with photovoltaic connectors can provide a more flexible power transmission solution.
Tools You’ll Need
Before starting, gather the necessary tools:
– 4mm or 6mm photovoltaic cable
– Male and female photovoltaic connectors
– Wire strippers
– Crimping tool
– A small rubber gasket for sealing
The entire process takes about 5-10 minutes per connector.
Step-by-Step Installation Guide
1) Prepare the Connector
The connector is the key component linking the cable to the photovoltaic system. Before crimping, mark the cable to indicate how deep it should go into the connector. If the cable extends too far, the connection may fail.
2) Crimp the Male Connector
To ensure a strong and lasting connection, use a crimping tool designed for photovoltaic connectors (a 4mm crimp connector works best), as these tools are widely available. Before crimping, slide the nut over the cable, then insert the stripped cable end into the metal crimp and secure it firmly. Additionally, make sure the plastic housing has a locking clip to prevent the connector from loosening over time.
3) Insert the 4mm Cable
Push the crimped cable into the connector until you hear a “click,” confirming it’s locked in place. The plastic casing should hold the cable securely.
4) Secure the Rubber Gasket
A rubber sealing gasket should sit flush with the cable end. Tighten the nut onto the plastic housing to ensure a firm grip. A loose connection can cause spinning, damaging the cable over time.
5) Crimp the Female Connector
Repeat the crimping process for the female connector by stripping a small section of insulation to expose the wires, then bending the cable slightly for better contact inside the crimp, and using the same crimping technique as with the male connector.
6) Connect the Cable
Now join the male and female connectors by sliding the nut over the cable and checking the rubber washer. Then, push the crimped end into the female housing until it clicks. Finally, ensure both connectors are fully seated to prevent power loss.
7) Test the Connection
Before connecting to the photovoltaic panel or charge controller, test the connection with a multimeter. A stable reading confirms a proper installation. A well-crimped connector should last for years without issues.
Final Thoughts
After you have sufficient knowledge about photovoltaic cable installation, you will be able to handle it as skillfully as possible during the actual operation, which can not only reduce unnecessary losses caused by operational errors, but also ensure that the photovoltaic energy system achieves the highest efficiency and longest service life, and avoids being affected by factors such as poor connection or bad weather. Always double-check crimps and test connectivity before finalizing the setup. With the right tools and technique, installing PV cables is a simple yet critical task for any photovoltaic energy system.